How do I set up notifications
This article tells you how to add notifications, trigger audit and entity events, and enter a notification message.
NOTE: In order to add Notifications, the person setting these up must have the appropriate role and functional permissions to view the notification polices and queue pages, as well as have the appropriate notification entity rights to add, delete, and edit notifications.


For this document, we will assume the appropriate Account Role has already been established.
Adding Notifications:
You can set up imPowr to receive notifications, like alerts, any time data is added or changed.
Note: Notifications can only set up for actions which are captured in the Audit Trail (System > IT Management > Audit Trail)
- Login to your imPowr website.
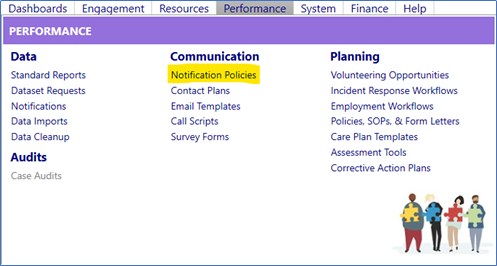
- Go to the Performance menu
- Click on Notification Policies in the Communication section
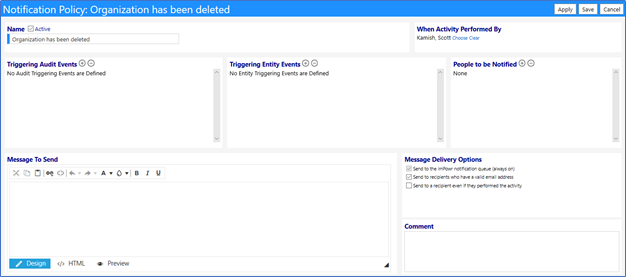
Entering a Notification Policy:
- Click on New Policy
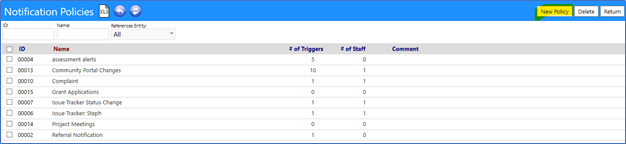

- Enter the Name of the new Notification

-
Check if the Notification is Active (if left unchecked, the notification will not be implemented)
-
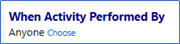
Identify when the Notification will be sent
-
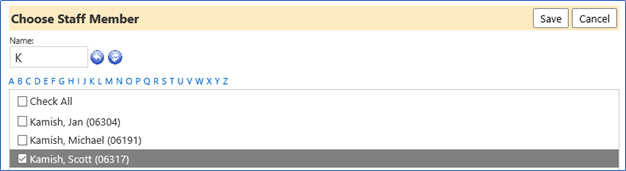
Click on Chooseor leave as defaulted (Anyone)
-
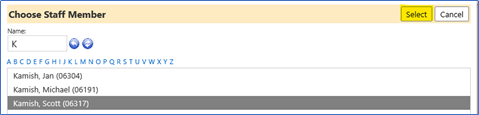
- If you choose to select who performs the activity, Choose Staff Member from the list and click on Select
- Click Apply to activate the rest of the form

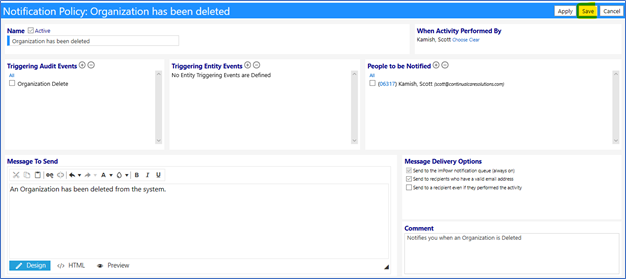
Once you have clicked on Apply, you can now enter in the triggering events, the people to be notified, the message to be sent, and your message delivery options.
There are two ways to trigger the notification – either it is triggered by an Audit Event (any time an entry is captured in the Audit Trail) or when it is triggered by an Entity Event (these are the selected activities (View, Add, Edit, and/or Delete) for one of the entities in the imPowr program). The reason there are Entity Events is because someone may want to track only when a specific action occurs such as when something is deleted, for example, versus sending a notification when_ any_ change occurs. (As noted previously, Entity Rights (actions) are set in the Account Role.)
Triggering Audit Events:

- Click on the ‘+’ to add a triggering Audit Event

- Choose an “Add”, “Delete”, “Update”, “Access”, or “Issue” Audit Event(s) from the list by checking the box to the left of theAudit Event
- Click on Save.
Note: to Delete an existing event, select the event from the list by checking the box to the left of the Event name and clicking on the ‘-‘ button.
Example: Assume I want to be notified any time an Organization is Deleted. To do so, I would select Organization Delete and click on Save.

- The triggering even will now be displayed:

Note that more than 1 triggering event can be added.
Instead of Audit Events, Triggering Entity Events can also be added similarly:
Triggering Entity Events:

- Click on the ‘+’ to add a triggering Entity Event

- Choose Entity Event(s) from the list by checking the box to the left of theEntity Event
- Click on Save.
Note: to Deletean existing event, select the event from the list by checking the box to the left of the Event name and clicking on the ‘-‘ button.
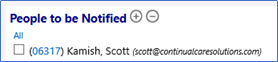
People to be Notified:
- Select the People to be Notified by clicking on the ‘+’.
- Choose Staff Member from the list by checking the box to the left of their name and clicking
Note: Multiple people can be selected to be notified
Note: to Delete a Person to be Notified, check the box to the left of the selection and clicking on the ‘-‘ button.
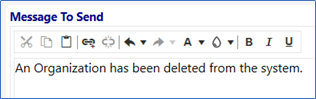
Enter Notification Message:
- Enter your Message to Send
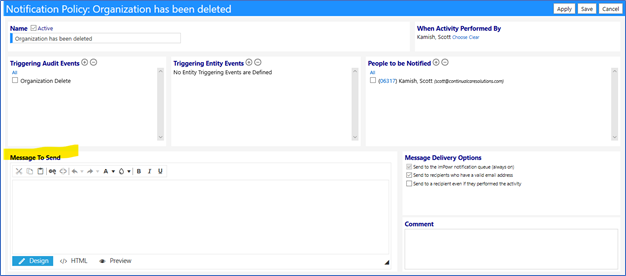
Message Delivery Options:
- Select your Message Delivery Options
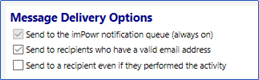
- The Send to the imPowr notification queue (always on) defaults to being selected and cannot be de-selected
- Select the Send to recipients who have a valid email address so only users which an email address will receive the notification
- Select the Send to a recipient even if they performed the activity if you desire that option (in most cases, people who did the activity are already aware of it, so they do not want to be notified).
Comment:
- Enter a Comment about your Notification Policy if desired.
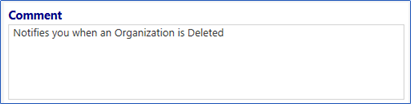
Note: this comment does not display anywhere except in the list of Notification Policies.
Save your Notification Policy:
- Click on Save
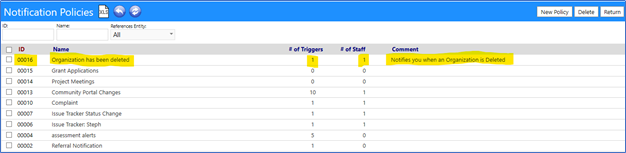
Notification Policies List:
The New Notification Policy now appears in the Notification Policy List:
Activate the Notification:
If the notification is not already activated for use…
- Click on the Notification ID.
- Check the Active box, above the Notification Name.
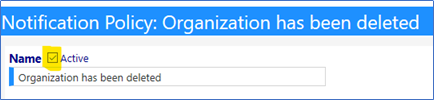
- Click on Save.
The notification is now saved and activated.
Any time your selected Triggering Event or Triggering Entity occurs, a Notification will be created and will be sent to the person(s) identified, with the message you entered. In the above example, any time an Organization is Deleted, Scott Kamish will receive a notification informing him of the deletion.
Notifications:
Whenever a Notification is created, it appears on the Notifications page (Go to the Performance menu and click onNotifications in theData section),:

The Notifications page displays the date the Notification was sent, to whom, the related entity and the source.
Example:
Organization 06383 (AAA Organization) was deleted.
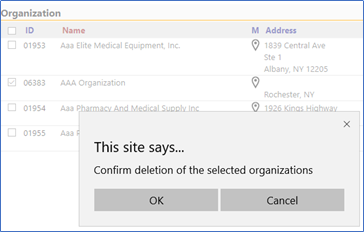
- Click on Ok
The Organization now been deleted and almost immediately, a Notification was created and sent via email to the intended recipient…
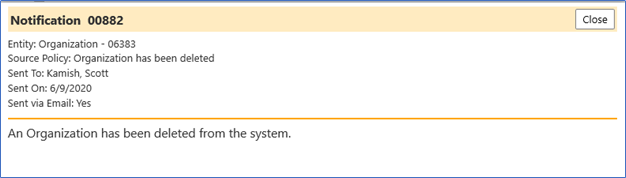
The emailed Notification states:

Viewing the Notifications List…
The sent Notification appears in the list.

Looking at the list, we can see Organization 06383 was deleted.
- Clicking on the Notification ID, the details of the notification can be viewed:
Looking at the Audit Trail (Go to theSystem menu and click onAudit Trail in theIT Management section)…
We can view the name, date, and time the action took place (when it was triggered), as well as the person who performed the action (in this case, it was the person who deleted the organization):

Note: the Audit Trail also captured when a change was made to a saved Notification Policy.
Once viewed, the “New” indication changes to a checkmark in the Notification List to indicate you have already viewed the notification.


Becomes…
