How does the fillable form process work
This article will explain about fillable forms - how they are created as well as how they are used.
Fillable forms (fillable PDFs) can be used for many activities in the workflow process, such as for reporting or checklists.
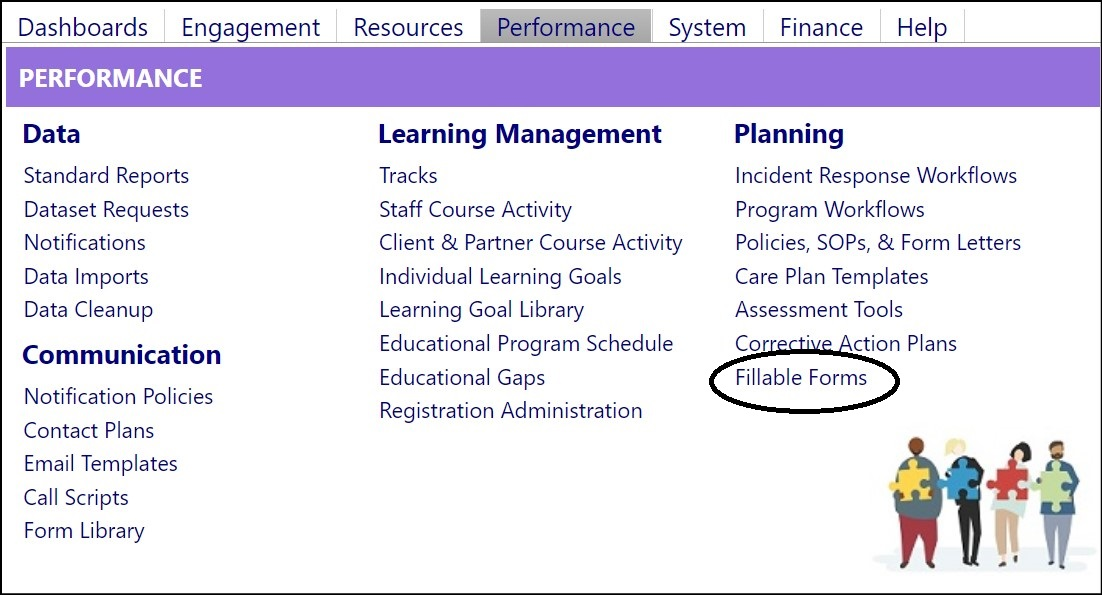
Access Fillable Forms
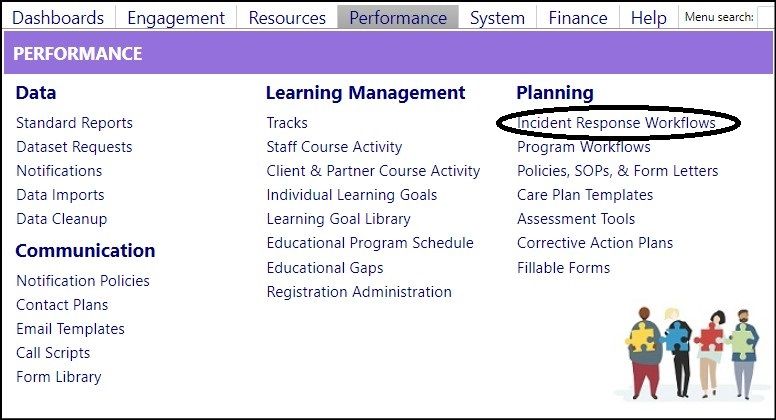
The setup for Fillable Forms can be accessed via the Planning section in the Performance menu.
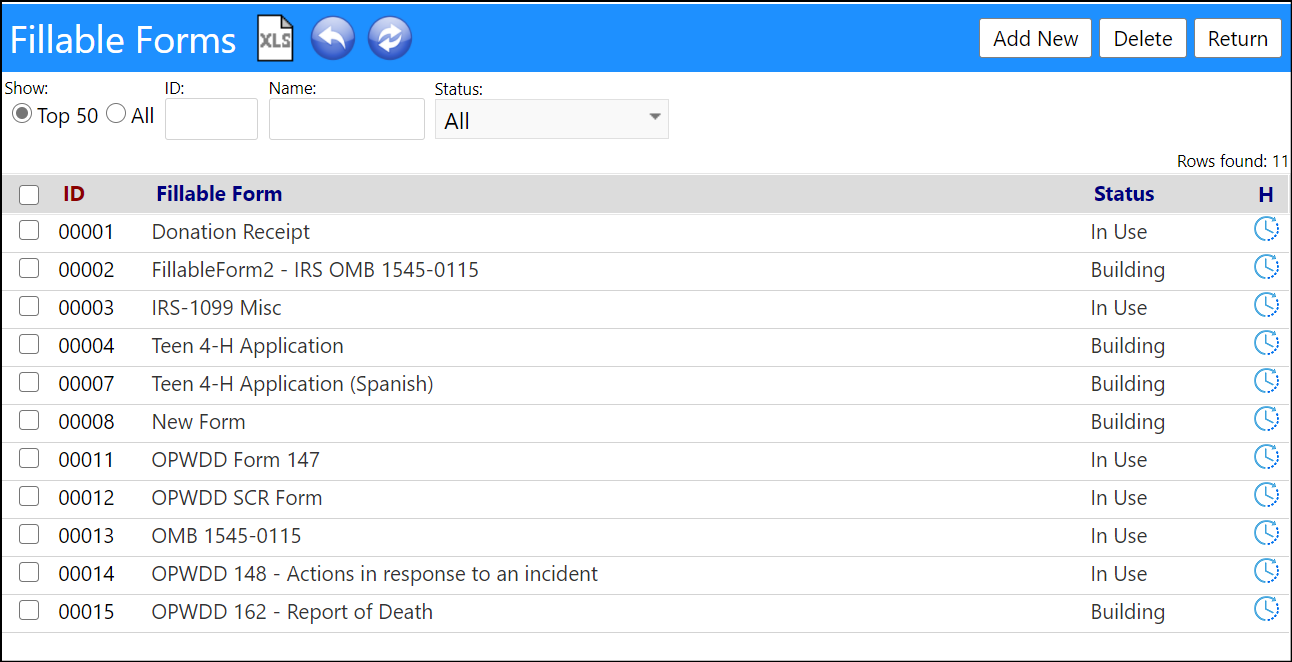
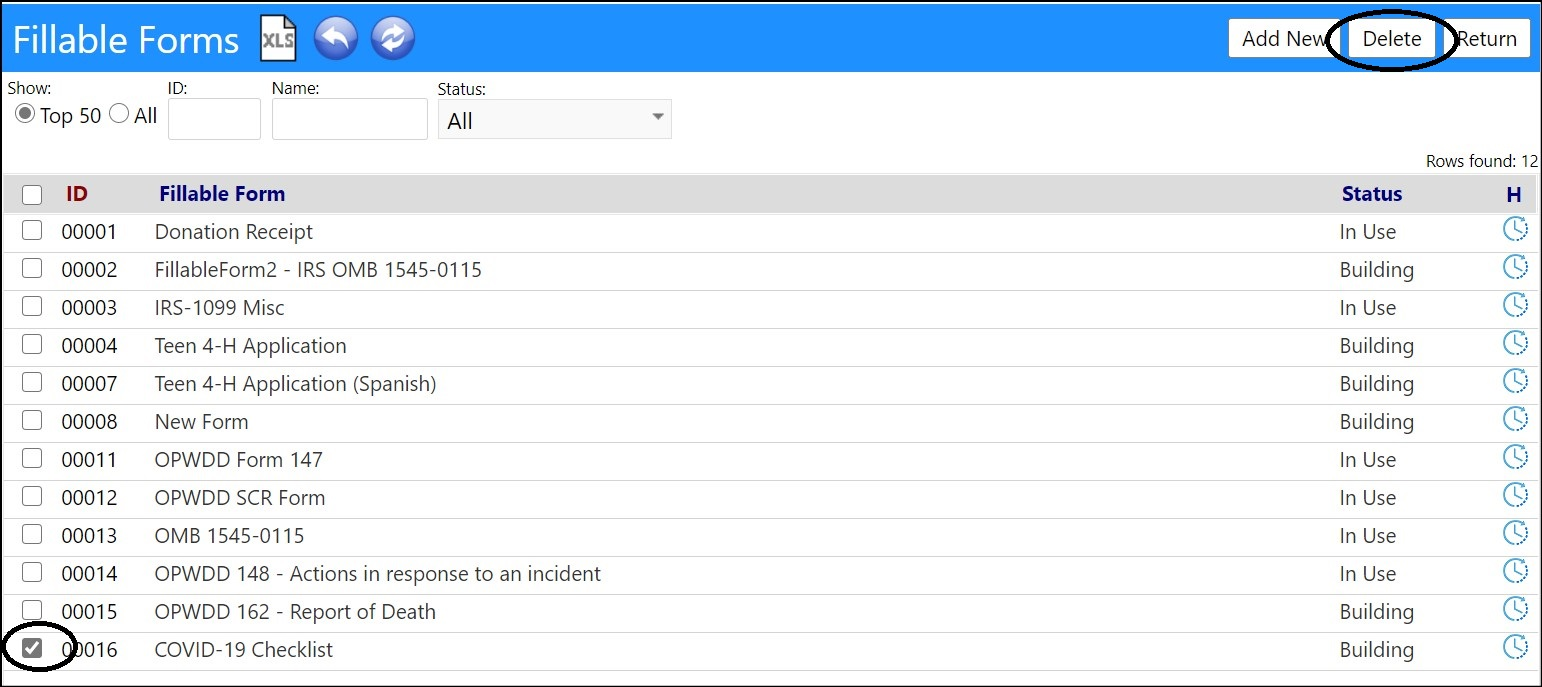
From this page, you can add new forms, edit existing forms, or delete existing forms.
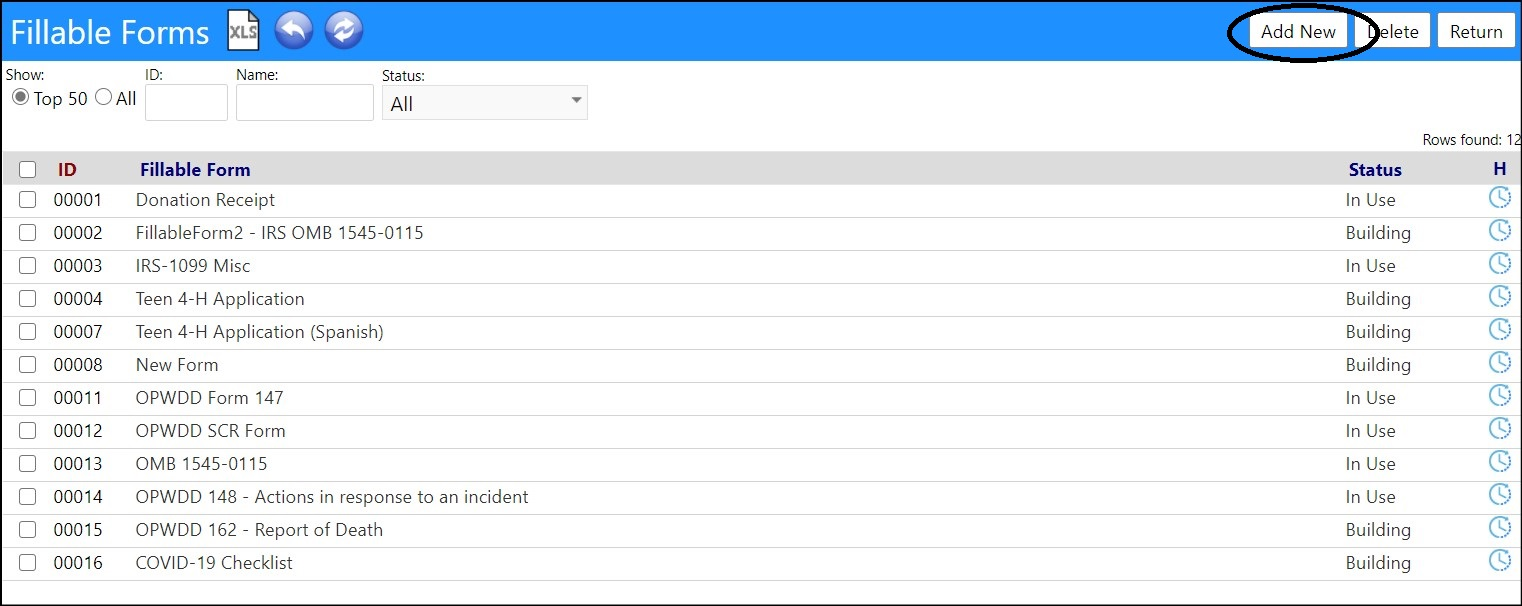
Add a new form
- Click Add New.
-
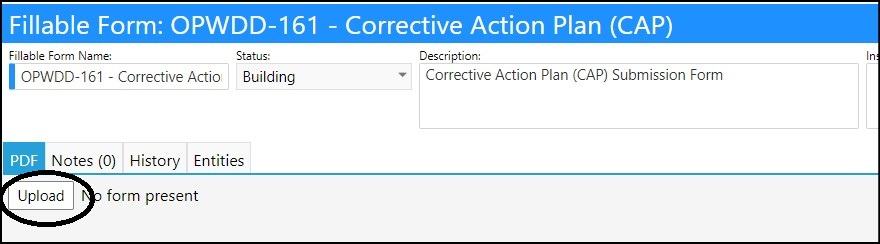
Fill in the Fillable Form Name.
-
Select the Status from the drop-down list of statuses.
-
Building (the form is under construction and is not yet available for use)
- In Use (the form is available for use)
- Inactive (the form should not be used)
- Phasing Out (be aware the form is going to be either phased out or replaced)
-
-
Enter a Description andInstructions if desired.

- Click Apply orSave.
- Click Upload.
- Select the file you wish to upload from your PC.
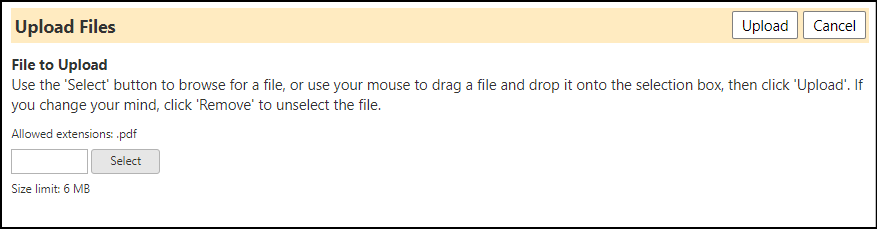
- Click Upload.
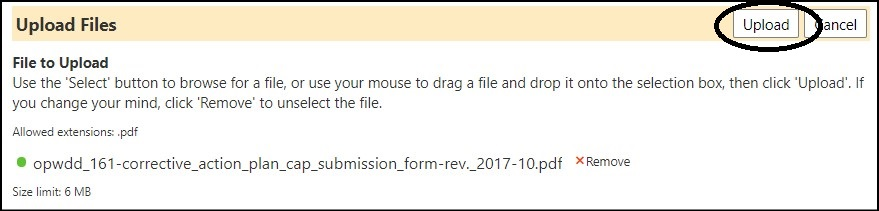
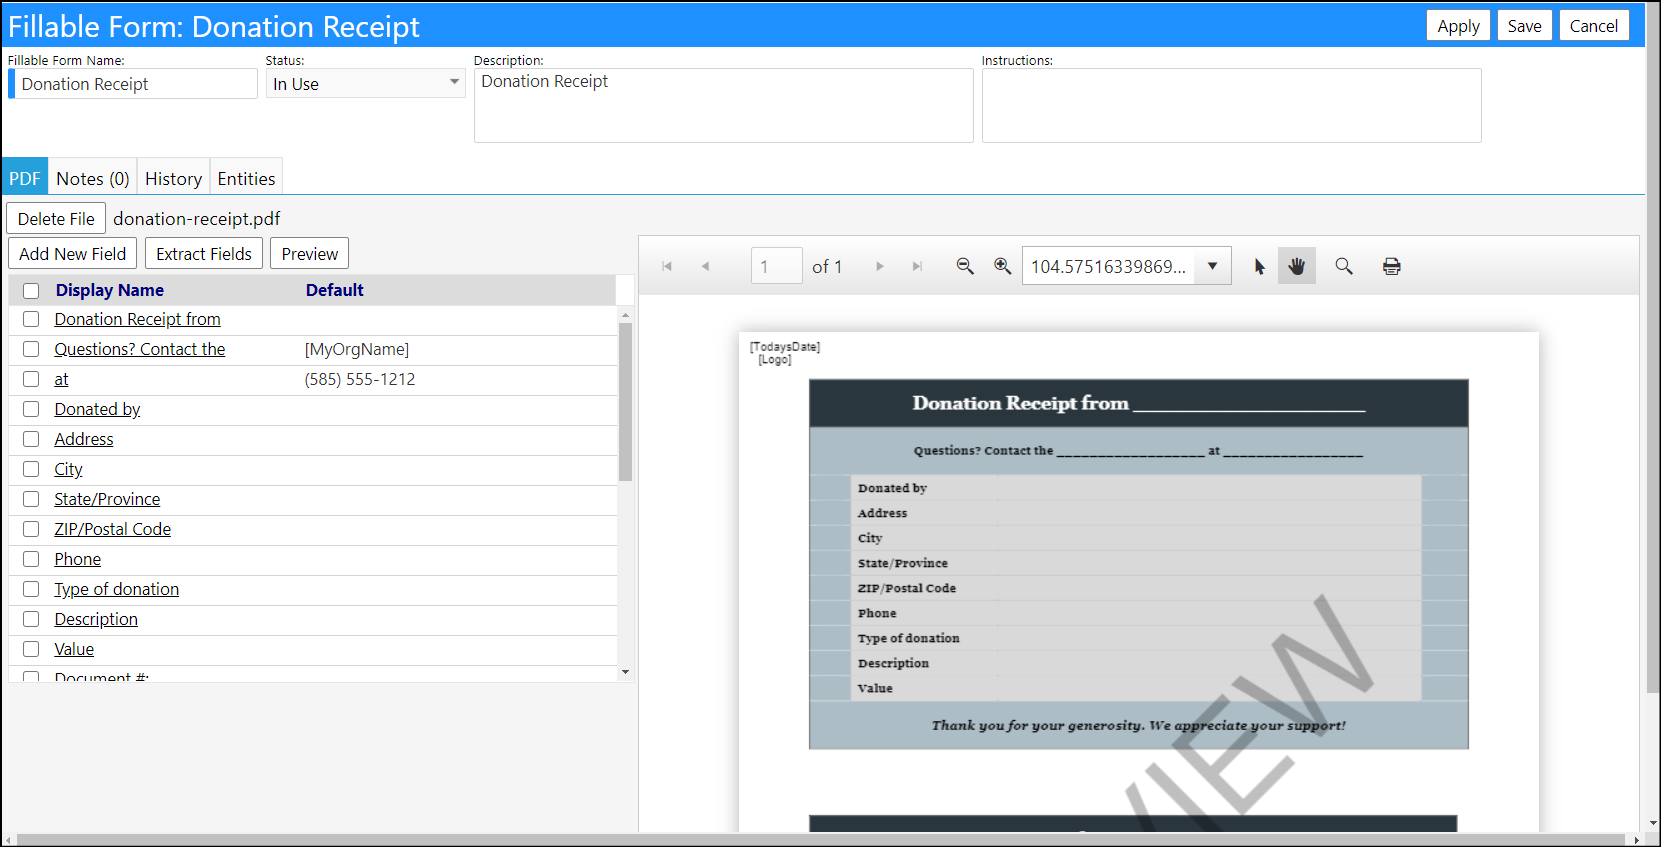
The document will be uploaded into the Fillable Forms setup screen.
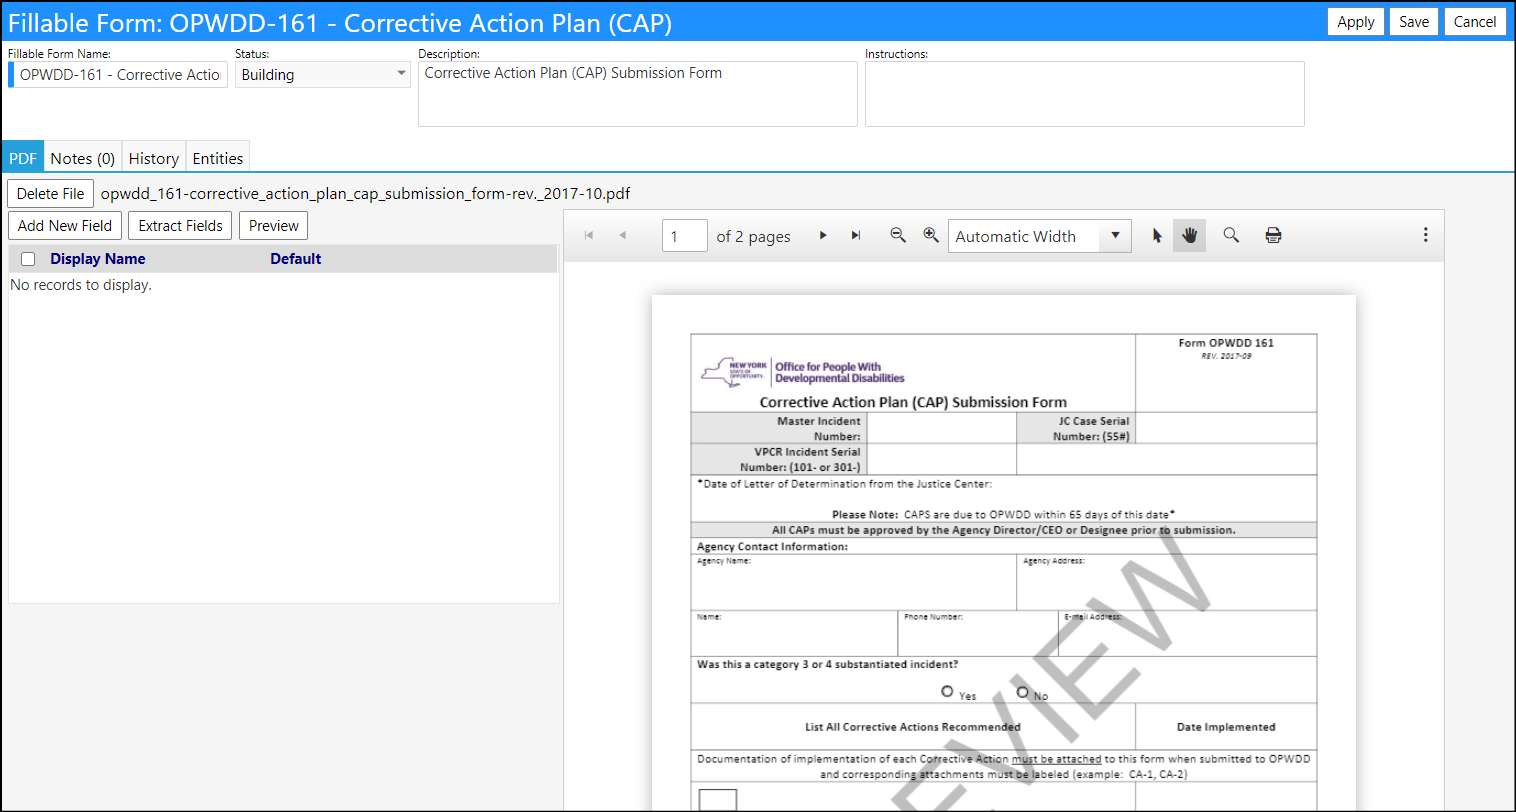
- If the document is a fillable PDF document click Extract Fields. If the document is not a fillable document or if some of the fields do not extract automatically, clickAdd New Field.Let imPowr extract the fields (if available)
- Once Extract Fields has been pressed, the imPowr system will look through the document and will identify the fillable fields.Please be patient! This process may take awhile to complete.
NOTE: Depending on how the document was created, the fields may or may not be discoverable. If they are found, please check to make sure all fields were found. If not, or if the fields were not discoverable, you will need to add the fields manually by clicking Add New Field.
After the fields are found, you will receive a message indicating what was found.
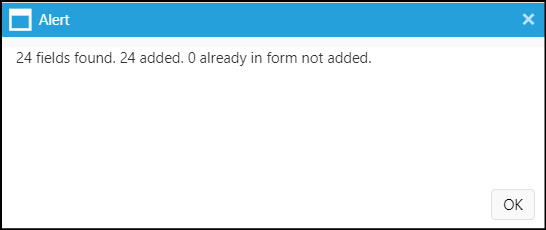
In the above example, 24 fillable fields were found an identified. None are known which could not be identified.
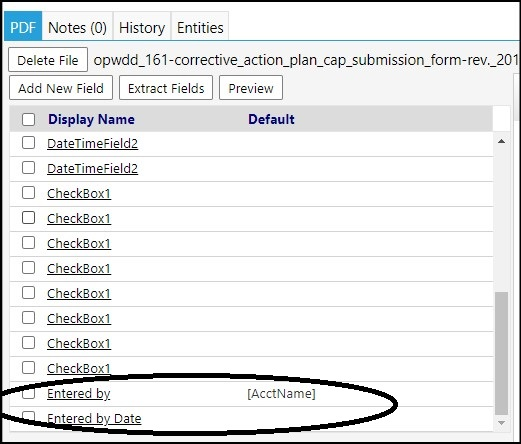
- After clicking OK, the fillable fields will now display.
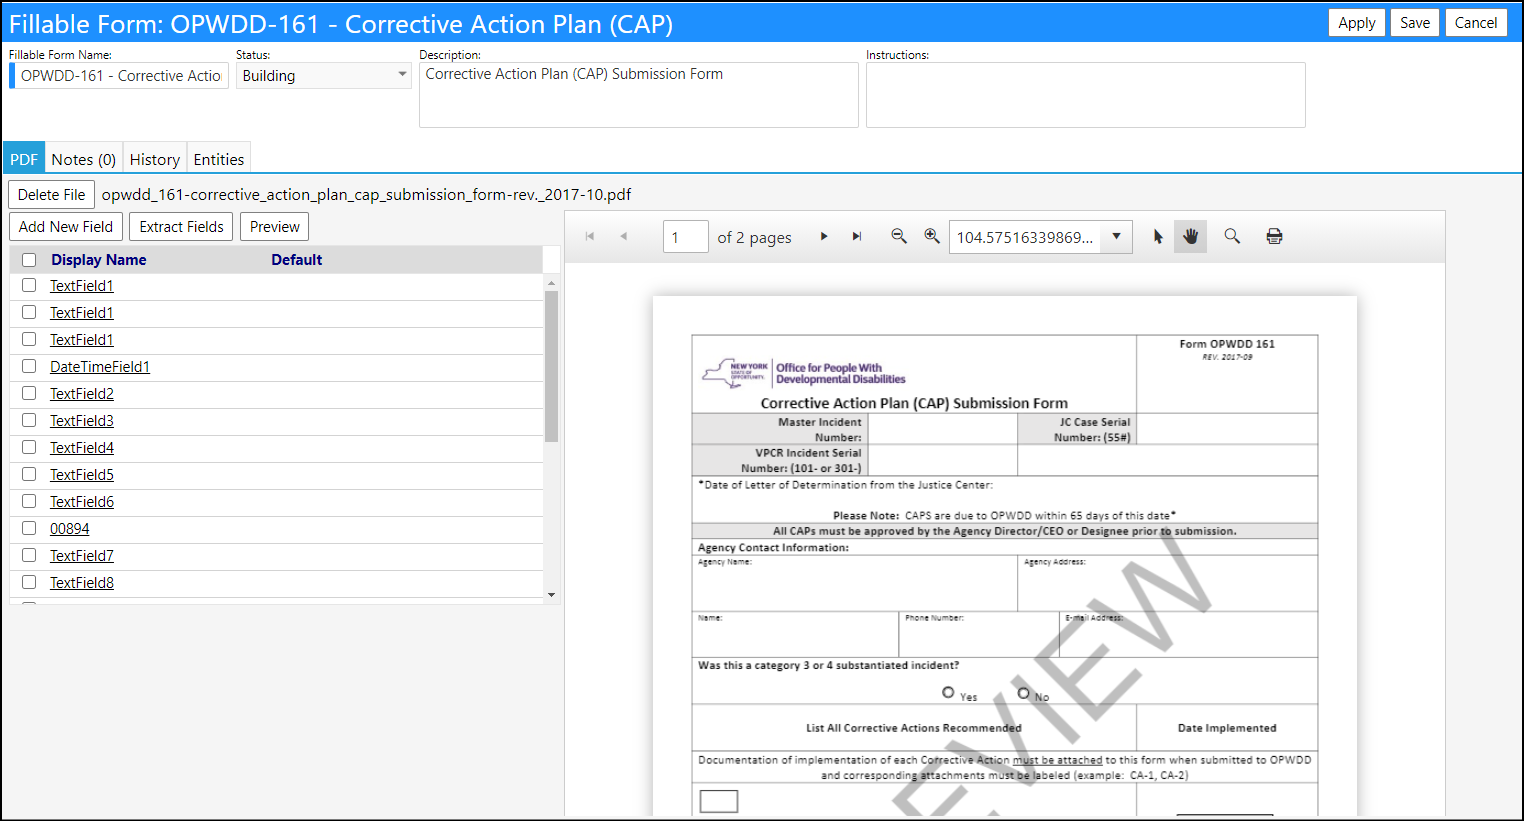
- By clicking on each Display Name, you can make the description of the field more descriptive, you can change the Sort Order of how they appear in the fields list, or you can enter in anyDefault values (or select them/type them in from the reserved words which appear on the right of the screen).
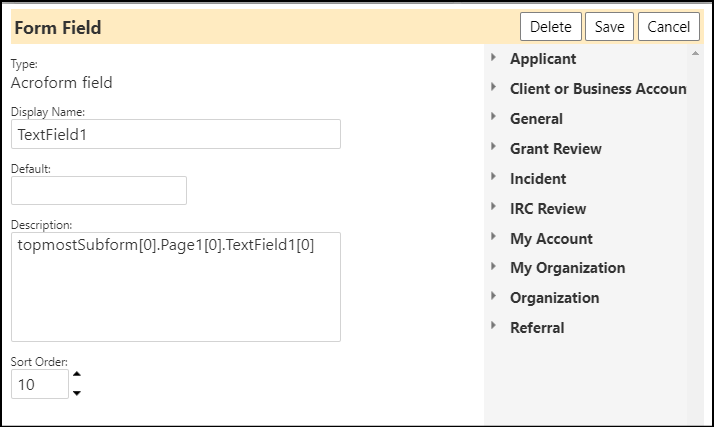
NOTE: In case you the Display Names are not descriptive enough, you might have to fill in a default value to see where it lands on the screen - once known, you can rename the field. The fields typically fill in from left to right, and from top to bottom.
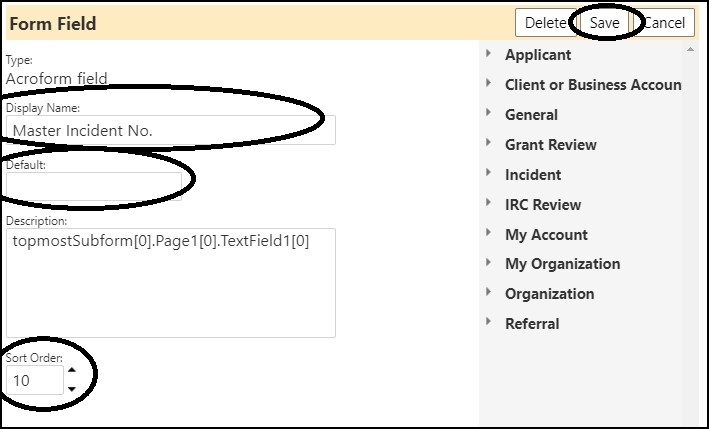
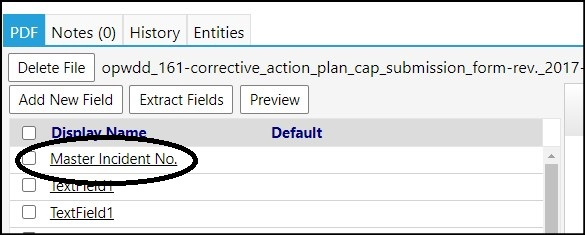
- Click Save when done with your changes.
The updated information will be displayed.
Manually enter a new field
The manual process is more complicated.
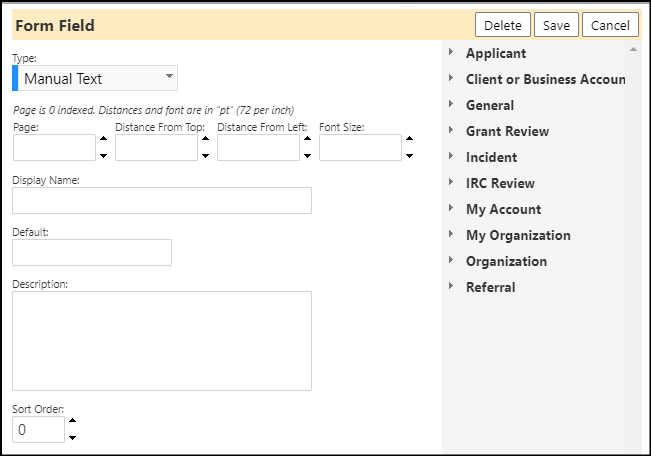
- Once Extract Fields has been pressed, you will need to enter theType of field (chooseManual Text)
- Enter the Page (if there are more than 1 page, the first page is page 0).
- Enter the Distance from the top and left.
NOTE: You may have to play around with this because not all PDFs are the same. Some measure from the page edge while others measure from the margin. The measurement is in points - there are 72 points per inch.
- Enter the Font Size.
- Enter a Display Name (the name to appear in the list of fields).
- Optionally enter any Default value if you wish for this field to always default (use your own or enter one from the list of reserved words displayed on the right of the screen).
- Enter an optional Description.
- Enter a Sort Order.
- Click Save.
The new fields will display.
Edit an existing form or field
- In the form list, select the form you wish to edit by clicking on its ID.
The form will be displayed.
- Change the form Name,Status,Description, orInstructions.
- Change the file by clicking on Delete File and then upload a new file.
-
Manually add new fields by clicking on the Add New Field button.
-
Edit existing fields by clicking on their Display Name.
-
From here, you can modify the Display Name, set theDefault value, enter aDescription of the field, as well as change the Sort Order.
-
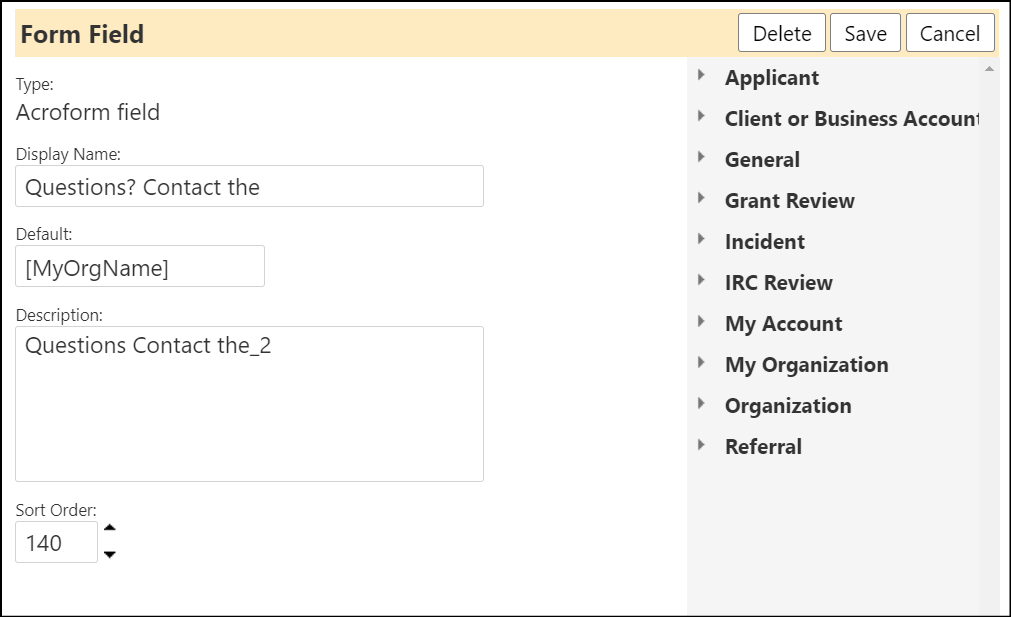
Default values can be manually entered or you can enter a reserved word by typing the entry from the list on the right side of the screen.
-
Click Save when done with your changes.To Delete an existing form
- In the form list, select the form you wish to remove by clicking in the checkbox to the left of itsID.
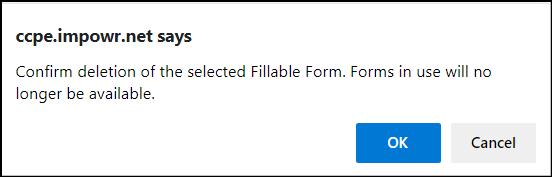
- Once selected, click Delete.
After you Confirm Deletion, your form will be removed from the list of forms.
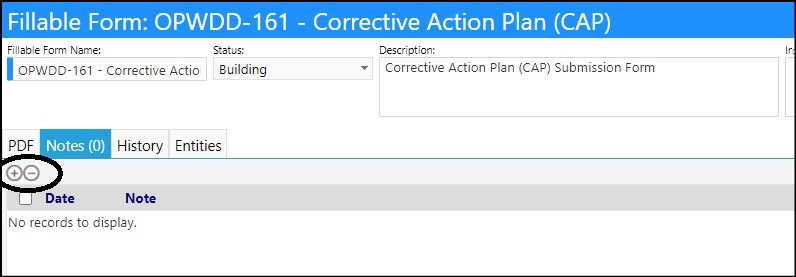
Add or remove form notes
- Add Notes by selecting on Note tab and clicking on the '+'.
- Remove Notes by selecting the note and clicking on the '-'.
-
Click Apply when done with your notes.
- Click Save to save your changes.Complete the setup
-
Change the Status of your Fillable Form toIn Useas soon as you are done working with it.
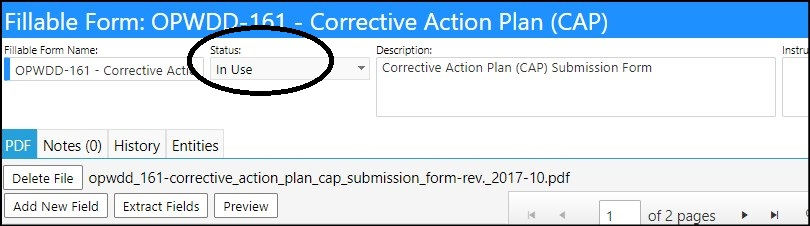
- Click Save to complete your field selections and settings and save your Fillable Form.

Your fillable form is now complete.
Make your form available for Incident Response Workflows
- To make the form available for use with Incident Response Workflows, select the Entities tab.
- Check the Incident box
- Click Save.

and is available for you to use by attaching to a workflow.
Attaching fillable forms to workflows
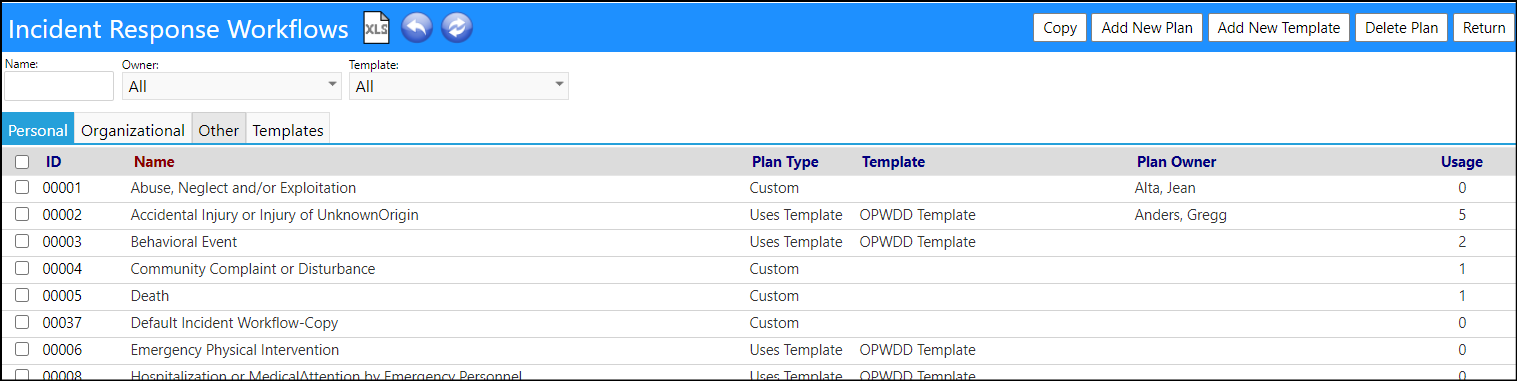
Access Incident Response Workflows via the Planning section of the Performance menu item.
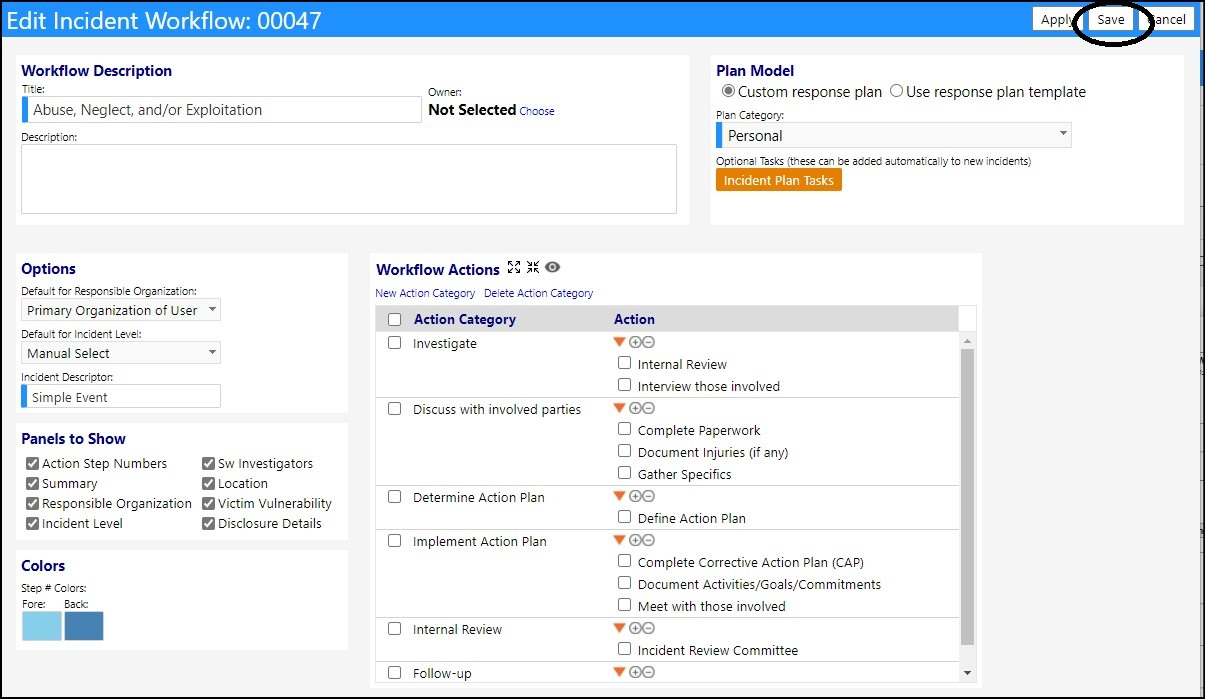
- Select an existing workflow by clicking on its ID.
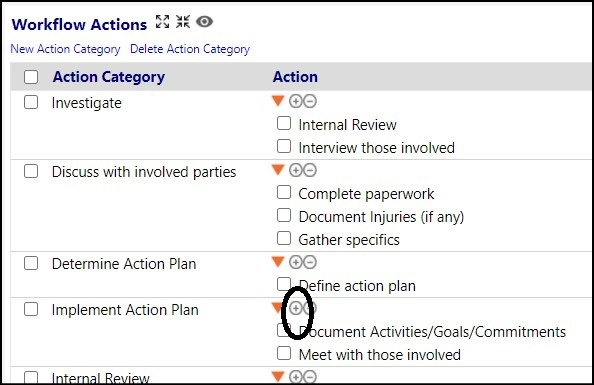
- Expand the Workflow Actions.
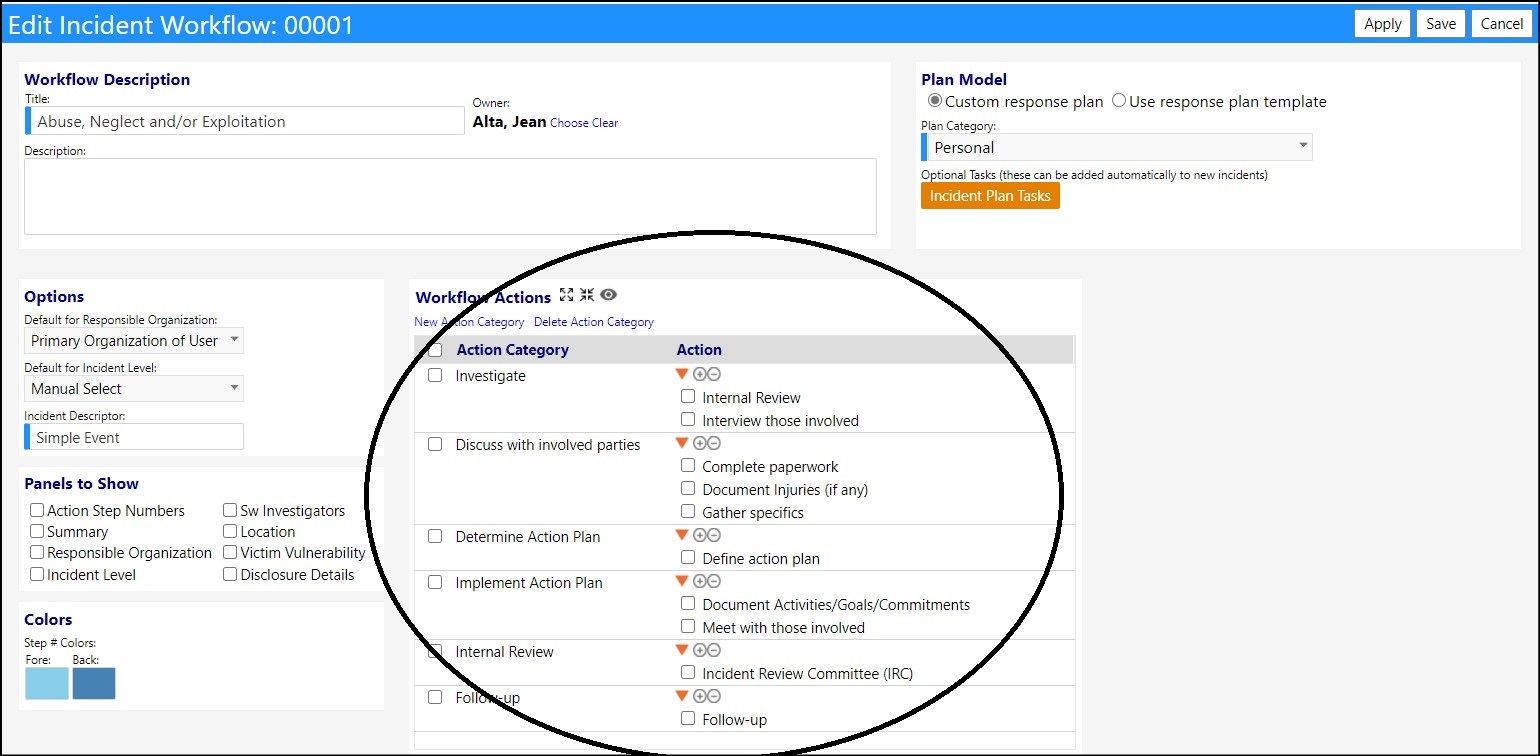
- Add a new Action by clicking on the '+'.
Similarly, you can also edit an existing Action by clicking on that Action.
- Enter a Name of the action.
- Select the Action Type "PDF Form".
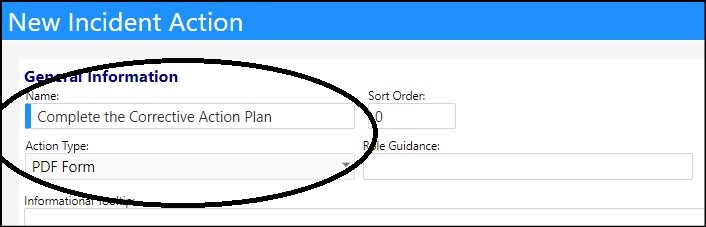
As soon as this Action Type selection is made, you will be asked to select a PDF form to use for the action.
- Select a PDF form from the PDF Settings drop-down list.
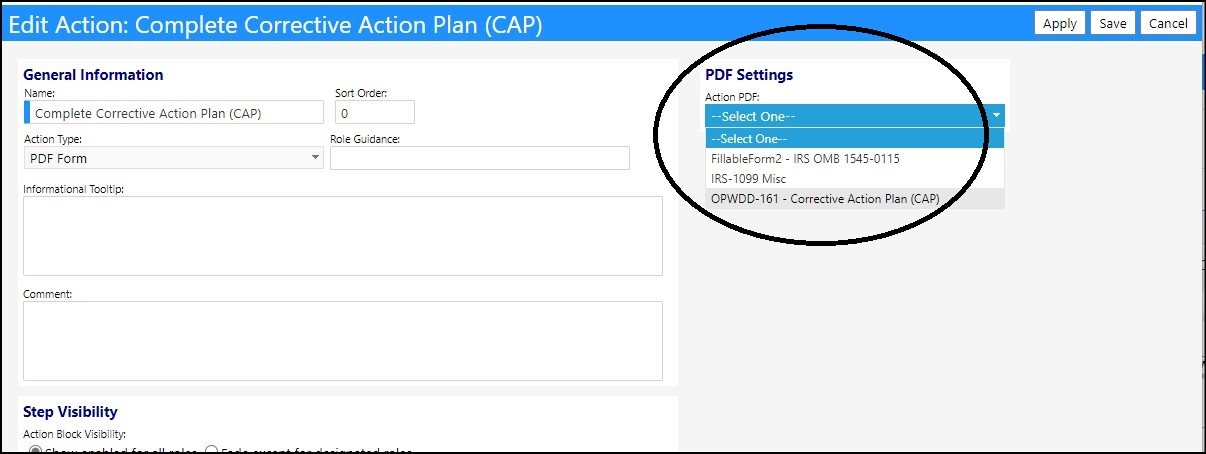
- Click Apply to save your selections and proceed with the next step.
- When you are all done with your Action Categories and Actions, click Save.
Your Incident Response Workflow is now complete, and the fillable form has been attached to it.
The fillable form will now appear when that Incident Type is selected:
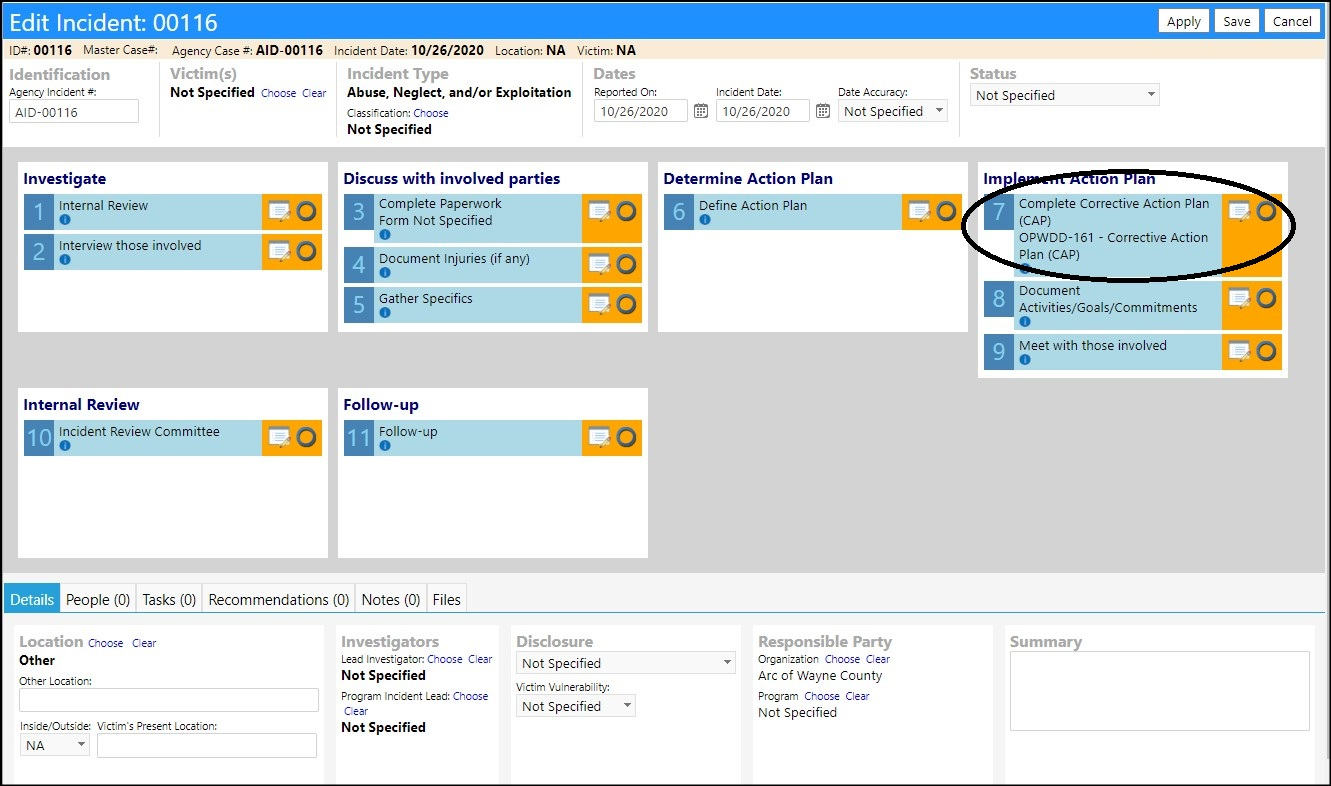
- Click on the Edit icon to enter and save the fillable fields.

Filling out the form will save your entries.
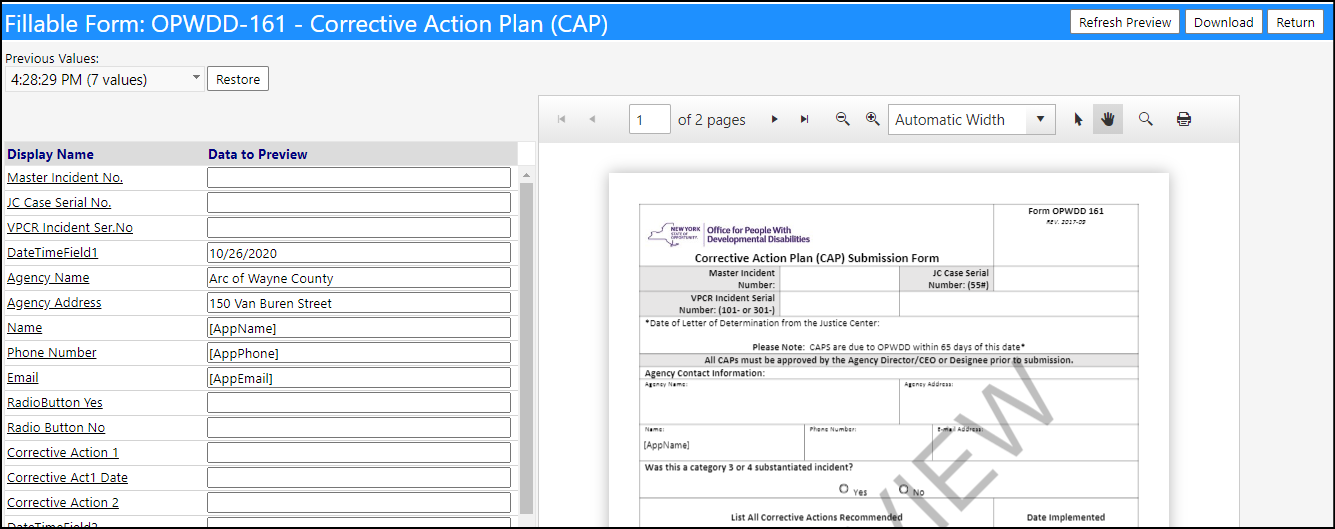
- If you wish to download the form, click on the Download button.
- If you want to restore the entries to an earlier version, select the time from the Previous Values drop-down list and clickRestore.
- Click Return when you are done entering your form to return to the Incident Response Workflow.
DISCLAIMER: The characters, names, and events contained in our training documents and in our demonstrations are fictional. Any resemblance or similarity to any actual events, entities, or persons, whether living or dead, is purely coincidental and are purposely made for better visualization of the functionality of our software.