How do I use quarantine trackers
This article will tell you how to create a quarantine, edit employee absences and medical statuses, and determine ability to return to work.
The imPowr Quarantine Tracker tracks both Quarantines and Absences. It not only keeps track of the individual’s absence from work, but it captures the reason, identifies whether they can work remotely, and captures the plan for their return.
Most fields are optional, but the more information you can enter, the more value the tracker provides.
Create a New Quarantine:
- Login to your imPowr website.
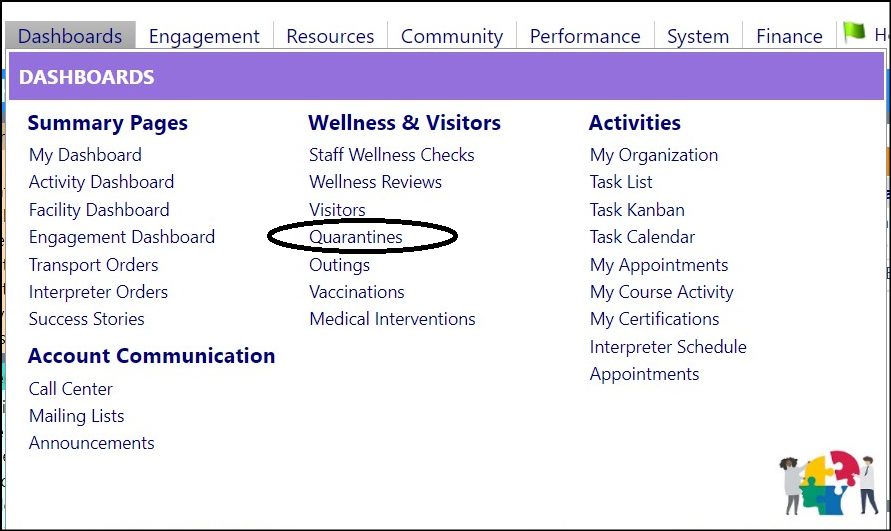
- Click on ‘New Quarantine’.

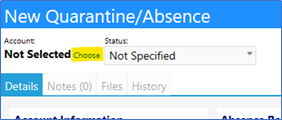
Note: When looking at this window, please note on the bottom left hand side of the window, the system keeps track of who is entering the information and the date it is being entered. This way, you always have a record of who created the quarantine record.
- Select the person for whom this Quarantine / Absence is being entered by clicking on the word “Choose” which can be found just below “Account”:
Selecting this opens another window where you can select the person from a list of clients. Highlight that person and click on “Select”.

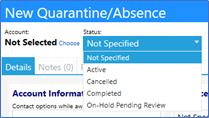
- Select the status from the drop down list. For new entries, the most common selection is “Active”.
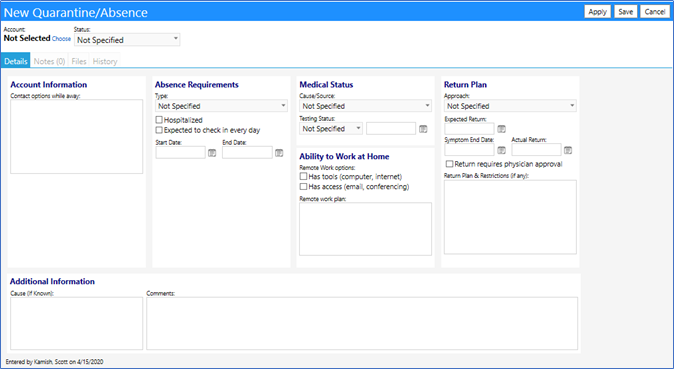
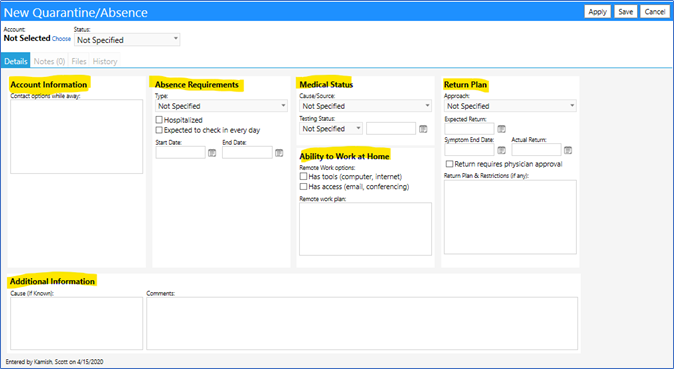
Quarantine / Absence Details Tab
The Details tab is made up of 6 distinct but related sections: Employee or Account Information,Absence Requirements,Medical Status, an assessment of their Ability to Work at Home, the employee’sReturn Plan, and anyAdditional Information or comments you may wish to add.
Employee or Account Information Section:
Depending on whether the individual is a Staff Member or a Client, the Employee/Account Information section will change.
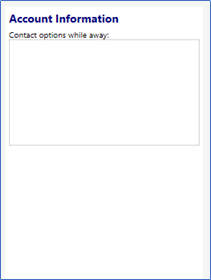
If the individual is a client, the first section will open as Account Information. This section will allow you to enterContact Options While Away.
- Enter the contact options in the space provided (for example: Email, Phone, Video Conferencing, etc.).
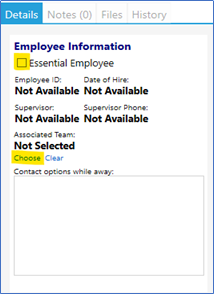
If the individual is a staff member, the first section will open as Employee Information.
- Identify whether or not the staff member is an Essential Employee (just click the checkbox next to “Essential Employee”. Additionally, because a staff member is selected, theirEmployee ID, Date of Hire, Supervisor,and Supervisor Phone will copy over from their Account Details, if they have previously been entered.
- Select the Associated Team the employee is part of, by clicking on “Choose”, highlighting the team, and clicking on “Select”.
- Enter any Contact Options While Away (for example: Email, Phone, Video Conferencing, etc.).

Absence Requirements Section:
In this section, the Type of Absence should be identified, whether the individual is Hospitalized, whether they areExpected to check in every day, theStart Date of the absence, and theEnd Date of the absence (if known).

- Select the Type of absence from the drop down list.
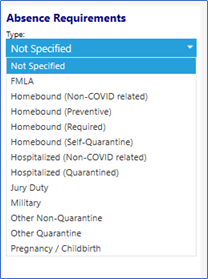
The important thing to know about absence Type is if you select a Quarantine related absence, the entry will be saved on the Quarantined Tab when you view the Quarantine/Absence List. All other entries will be saved on the Non-Quarantined tab:

- Check if the individual is Hospitalized
- Check if the individual is Expected to be reporting in every day (typical for many remote employees)
- Enter the Start Date of the absence or hospitalization
- Enter the End Date of the absence or hospitalization (if known)
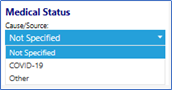
Medical Status:
In this section, you can identify the Cause/Source of the absence, and theTesting Status, along with the Date of the Test.
- Select the Cause/Source from the dropdown list:
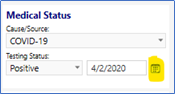
- Select the Testing Status from the list:
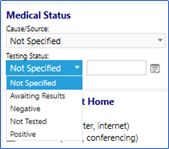
- Select the date of the Testing Status by clicking on the calendar button:
Note: The Medical Cause/Source and Testing Status lists are configurable.
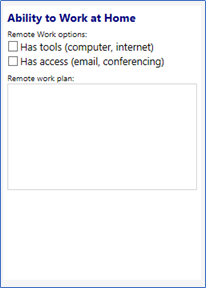
Ability to Work at Home:
This section addresses whether or not the individual can work from home during their quarantine or absence.
- Check if the individual Has tools to work from home.
- Check if the individual Has access to work from home.
- Enter their Remote work plan (this can be as simple as “Normal Work” or “No different than when in the office”, or whatever you would like – reflecting how you would expect them to work remotely).
Return Plan:
The Return Plan section allows you to identify when the individual will be returning to work (if known) and whether or not a physician’s approval would be required.
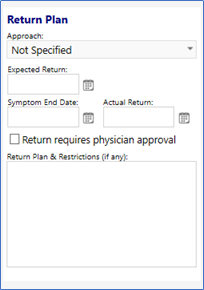
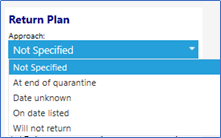
- Select the return plan Approach from the drop down menu.
- Enter the Expected Return (if known)
- Enter the Symptom End Date (if known)
- Enter the Actual Return date
- Check whether the Return requires physician approval
Additional Information:
This final section allows you to enter any notes about the individual’s Cause of absence, or anyComments you may wish to make. If is all free text, so it can be used as you desire.

When complete with all desired entries in the Details Tab, click onApply

IMPORTANT: Be sure to Apply your changes before moving between tabs, or your changes will not be saved.
Be sure to Save your changes when completed!
Clicking on ‘Apply’ will activate theNotes, Files, andHistory tabs:

Now that these tabs are active, you can use them.
Notes Tab:
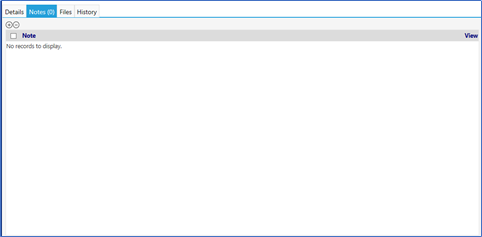
Entering Notes:
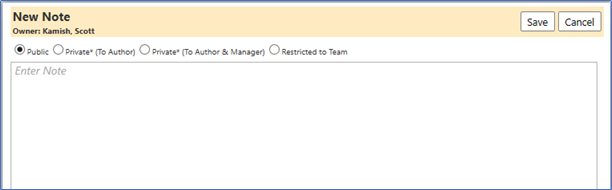
Enter a Note by clicking on the ‘+’ symbol:
Enter the Note and click on ‘Save’.
Deleting Notes:
Delete a Note by clicking on the checkbox to the left of theNote and then clicking on the ‘-‘ symbol:

Editing Notes:
Once the Note is written, you can edit theNote by clicking on theEdit checkerboard to the right of the note:

This will reopen the Note and allow you to edit the text. Click on ‘Save’ to save theNote upon completion:

After saving, Notes tab will indicate how manyNotes have been saved.

Files Tab:

Adding Files:
- Add a File by clicking on the ‘+’ symbol.
- In the new window, click on ‘Select’ to open your Window’s Explorer Screen to select aFile.

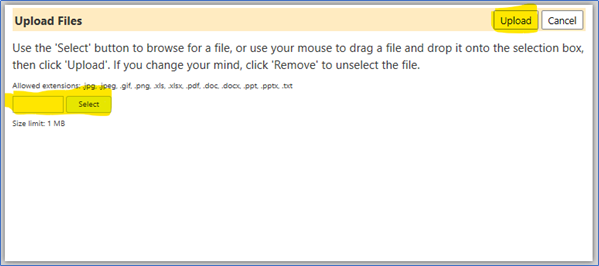
When done, click on ‘Upload‘ to add theFile and associate it to this absence.
The File will now appear in yourFile list, along with thedate and time it was uploaded:

Clicking on the File name will open the File and allow you to view it. You can also download it from here.

Deleting Files:
Saved Files can be deleted by clicking on the checkbox to the left of theFileName and then clicking on the ‘-‘ symbol:
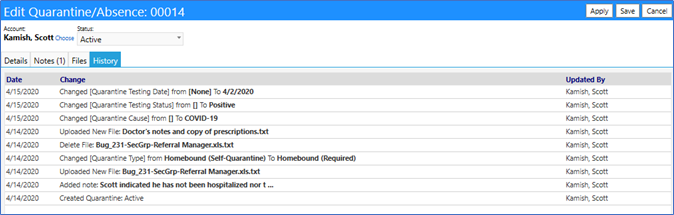
History Tab:
The History tab allows you to view a completeHistory of many of the changes made to this Absence… along with who it was last Updated By the change and the Date when it occurred. No changes can be made to this History.
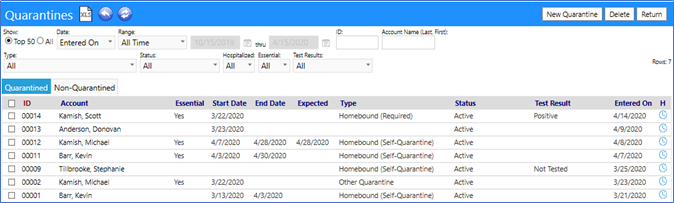
Quarantine List:
When all changes are completed, the entries you made will appear in the Quarantines list (in either the Quarantine Tab or the non-Quarantine Tab). This list is filterable by many fields, including ID, Type of Quarantine, their status, their test result, and whether or not they are considered an Essential Employee.
