How do I create and manage organizational charts
How do I create and manage organizational charts?
This article will tell you how to create, update, and view organizational charts.
NOTE: In order to create an Organizational Chart, the Organization must already exist in the system AND the Organization must be the one assigned to you, as your default Organization. (Currently, Organizational Charts can only be created for Community Group, Foundation/Government, Interpreter Services, and Service Provider types of Organizations.) In addition, the person setting this up must have the appropriate security rights to make changes to Organizations, as well as add programs.
For this document, we will assume the Community Group Organization has already been created and assigned in the system AND the appropriate Account Role has already been selected.
Creating (or updating existing) Organizational Charts:
-
Login to your imPowr website.
-
Access your Organization using one of the two following methods…
-
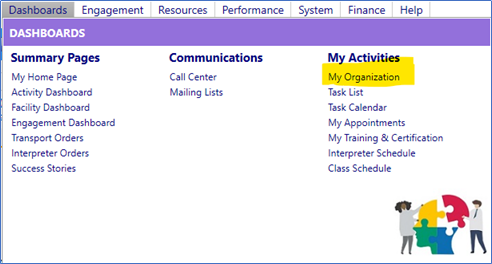
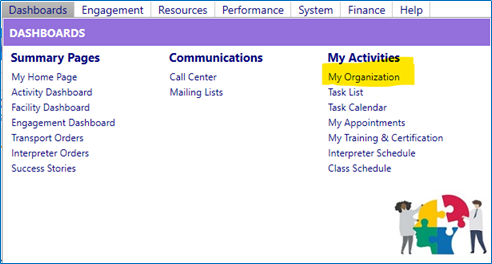
Click on My Organizations in the My Activities section on the Dashboards menu:
-
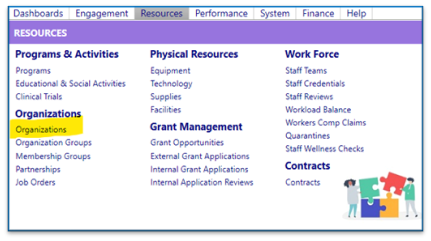
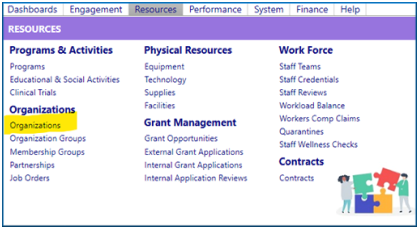
OR * Go to the Resources menu * Click on Organizations in the Organizations section
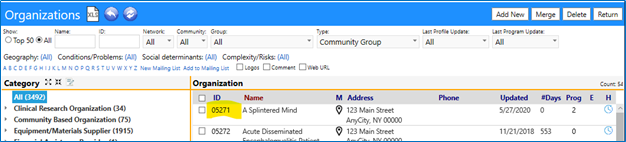
- Select your Organization from the list, by clicking on its ID
OR
- Select your organization by filtering on one of the previously mentioned Organization Types and then selecting your Organization from the list by clicking on its ID

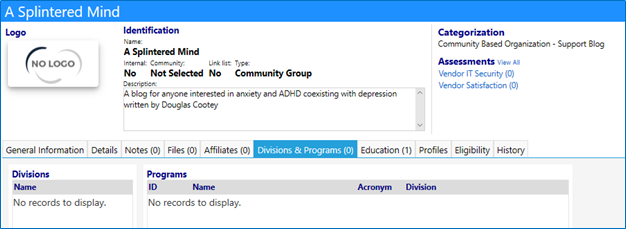
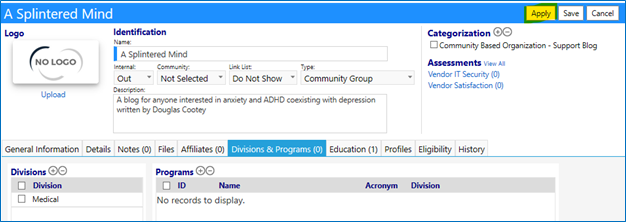
- Select the Divisions & Programs tab
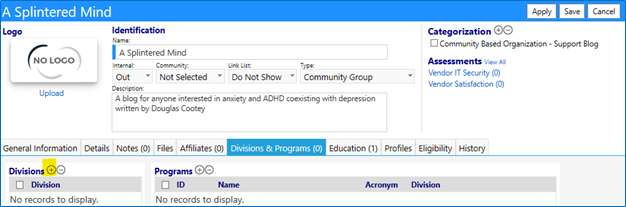
- Click on Edit
 * If a Division does not exist, or if it does exist and you wish to add additional Divisions, click on the ‘+’ to the right ofDivisions
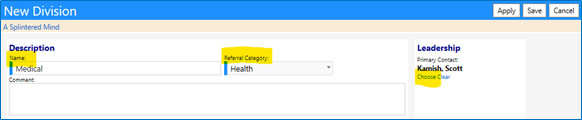
- The Division window will open:
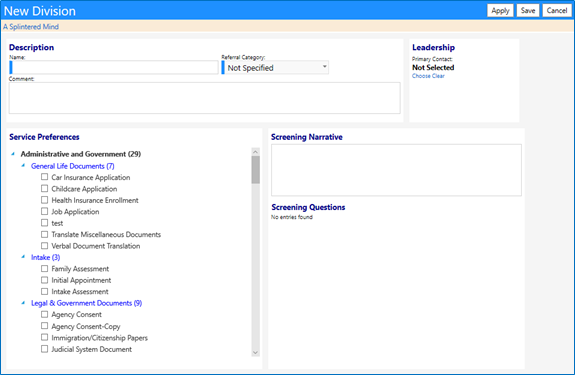
- Enter the Name of the Division
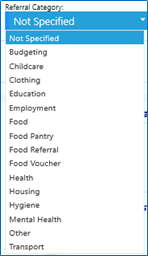
- Select the Referral Category from the drop-down list
- Select the Primary Contact (in the Leadership section) by clicking on “Choose” and selecting a name from a list of Staff Members
- Select Service Preferences (Optional)
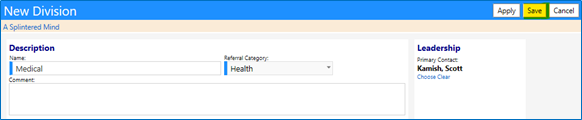
- Click on Save to save your entries
- Repeat for additional divisions.
- The new Division(s) will now appear in the list of available Divisions & Programs

- Click Apply to temporarily save your Organizational changes
Note: The Division will be the first level in your Organization Chart
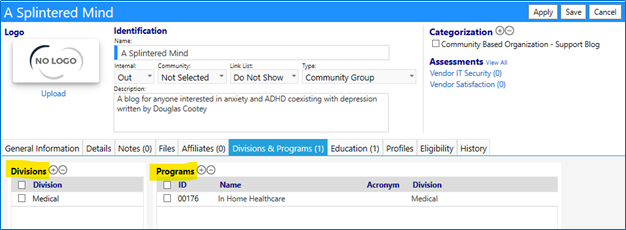
- To associate a program with a division, click on the ‘+’ to the right ofPrograms

- Enter a Program Name
- Select the Division from the drop-down list of divisions (these represent the divisions associated with this organization)

- Specify the Program Type from the drop-down list
- Enter a Primary Contact Name

- Fill in other fields (Optional)
- Click on Save

- The program will display in the Organizational Divisions & Programs tab

Note: The Program will be the second level in your Organization Chart
- Save your Organizational entries
- The organizational chart has now been created
View your Organizational Chart:
-
View the Organizational chart using one of the two following methods…
- Click on My Organizations in the My Activities section on the Dashboards menu:
OR
- Go to the Resources menu
- Click on Organizations in the Organizations section
- Select your Organization from the list, by clicking on its ID

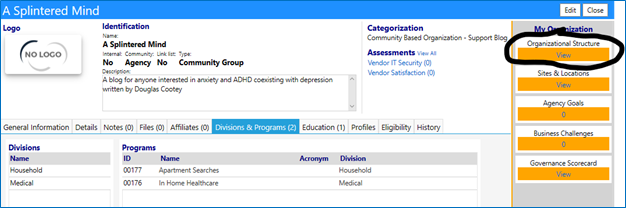
When the Organization opens, you will be able to view the Organizational Chart.
- Click on View in the right reading panel:
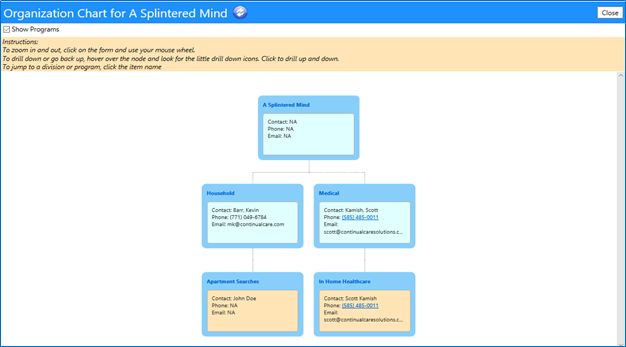
The Organizational Chart displays, showing the divisions and the contacts associated with those divisions (the first level of the Organizational Chart):
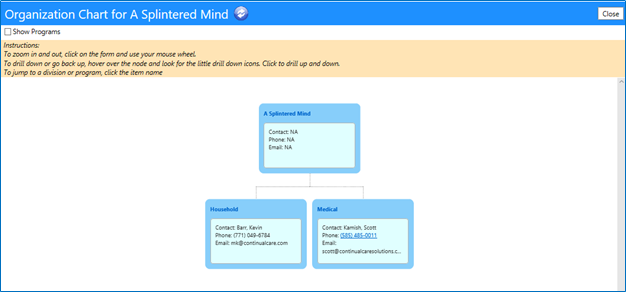
Select the “Show Programs” box, to view the programs associated with the Divisions (the second level of the Organizational Chart):

The Organizational Chart displays showing Divisions and Programs: